
Heat Retention Technology: The Science Behind Keeping Your Coffee Piping Hot
We’ve all been there: you pour a fresh cup of coffee into your travel mug, rush out the door, and an hour later, you take a sip only to be greeted by lukewarm disappointment. The difference between a piping hot lunch at 2 PM and a tepid mess lies entirely in heat retention technology.
Understanding the engineering inside your flask doesn’t just satisfy curiosity—it saves you money. By knowing the difference between simple foam insulation and triple-layer vacuum seals, you can stop buying cheap mugs that fail and start investing in gear that works.
1. The Physics of Heat Loss: The Enemy Trio
To keep something hot, you have to stop heat from escaping. Heat is energy, and it wants to move from hot areas to cold areas until equilibrium is reached. It travels in three ways:
- Conduction: Direct transfer through touch (e.g., the heat traveling through the metal walls of a cup).
- Convection: Transfer through air or liquid movement (e.g., steam rising off your soup).
- Radiation: Heat moving as light waves (infrared) across empty space.
Advanced heat retention technology is simply a battle plan to block these three exits.
2. Vacuum Insulation: The Void That Saves Heat
[Image of vacuum flask cross section]The single most effective technology in modern drinkware is the vacuum seal. Invented by Sir James Dewar in 1892, this tech creates a space between two walls of stainless steel where air is sucked out.
Why does this work? Because heat cannot travel by conduction or convection through a vacuum. Without air molecules to pass the “heat baton,” the energy stays trapped inside your liquid. For a deeper look at the physics, check out our guide on how vacuum insulation works in a thermos.
3. The Copper Lining Advantage
While a vacuum stops conduction and convection, it cannot stop radiation. Heat can still “jump” across the vacuum gap as infrared waves. This is where premium brands like Yeti and S’well step up.
Manufacturers coat the outside of the inner wall with a thin layer of copper. Copper is highly reflective to thermal radiation. It acts like a mirror, reflecting the heat waves back into the drink rather than letting them cross the vacuum. This creates “Triple-Wall” insulation performance without adding bulk.
4. Steel Grades and Thermal Conductivity
Not all metal is created equal. Most high-quality thermal gear uses 18/8 food-grade stainless steel (18% chromium, 8% nickel). This material is chosen not just for durability, but because stainless steel is actually a relatively poor conductor of heat compared to aluminum or plain steel.
If a manufacturer uses thinner, cheaper steel, heat travels faster toward the lid (the weak point), resulting in rapid cooling.
5. Lid Technology: The Thermal Weak Point
You can have the best vacuum flask in the world, but if the lid is thin plastic, you will lose heat. Heat rises, meaning the lid takes the brunt of the thermal attack.
Look for lids that utilize:
- Internal Foam Insulation: Hollow plastic lids conduct heat; foam-filled ones trap it.
- Deep Threads: A deeper screw mechanism creates a longer path for air to escape.
- Small Openings: Flip-top lids retain heat better than wide sliders.
6. Volume vs. Surface Area
It is a law of physics: Larger volumes of liquid stay hot longer. A 40oz thermos will outperform a 12oz mug every time, assuming they use the same tech.
This is due to the ratio of surface area to volume. A small cup has a lot of surface area relative to the small amount of liquid, allowing heat to drain quickly. If you need 24-hour retention, always opt for the larger sizes.
7. The Pre-Heating Variable
Even the best technology needs user assistance. If you pour hot coffee into a cold steel flask, the steel immediately absorbs roughly 10-15 degrees of heat from the coffee to equalize the temperature.
8. Brand Implementations: Who Does It Best?
While most brands use “Vacuum Insulation,” the quality varies. Zojirushi is famous for using an incredibly thin vacuum gap (1mm) which allows for lighter bottles with superior retention. Stanley focuses on thicker steel walls (QuadVac™) for rugged durability that sacrifices some weight for thermal mass.
For a direct comparison of retention capabilities, see our test on Hydro Flask vs. Klean Kanteen ice retention.
9. Food vs. Liquid Retention
Why does soup get cold faster than coffee? Fluid dynamics. Liquids circulate easily, keeping the internal temperature consistent. Chunky foods (like stew or pasta) have air pockets and don’t circulate, creating cold spots.
If you are looking for lunch gear, you need specialized containers. Check out our roundup of the 7 best thermoses for soup in 2026 to ensure your meal stays hot.
10. Durability Factors: Losing the Vacuum
If your flask feels hot to the touch on the outside, the vacuum seal has failed. This usually happens when a drop dents the outer wall enough to touch the inner wall, creating a “thermal bridge” for conduction.
Top-tier heat retention technology includes shock-absorbing bases and thicker steel at impact points to protect that vital vacuum seal.
11. How to Test Retention at Home
Want to verify your gear? Perform this simple test:
- Boil water and measure the temperature (approx 212°F).
- Fill your flask to the top (air gaps kill heat).
- Seal it and leave it in a room temperature environment (70°F).
- Check the temperature after 6, 12, and 24 hours.
A high-quality thermos should still be above 140°F (drinkable hot) after 12 hours.
12. The Future: Aerogel and Titanium
The next frontier in heat retention is Aerogel—a synthetic porous ultralight material derived from a gel. It is the best solid insulator in existence. While currently expensive and used mostly in space exploration, brands are beginning to integrate aerogel composites into lightweight camping gear to replace bulky vacuum walls.
Frequently Asked Questions
Double-wall stainless steel with vacuum insulation is currently the best commercial material for heat retention. Glass is a good insulator but too fragile for travel, and plastic is poor at retaining heat.
This almost always means the vacuum seal is broken. If you dropped it or ran it through a high-heat dishwasher, the seal may have compromised, allowing air between the walls.
Yes, significantly. Screw-top lids retain heat much better than slider lids or straw lids because they form a tighter seal and are often insulated themselves.
Generally, yes. Heavier thermoses often have thicker steel walls and heavier caps, which provide better thermal mass and insulation durability compared to ultra-lightweight travel mugs.
Yes, high-quality stainless steel flasks are designed to handle boiling water. However, be careful when opening it, as pressure can build up inside.
Hand wash with warm soapy water and a bottle brush. Avoid dishwashers (unless rated safe) as the high heat and water pressure can damage the vacuum seal.
It is a layer of copper plating on the outside of the inner bottle (inside the vacuum space). It reflects radiant heat back into the bottle, boosting insulation performance.
Ceramic coatings are mainly for taste (to prevent metallic flavor). They do not significantly add to insulation, but they don’t harm it either as long as the underlying vacuum steel structure is sound.
Wide-mouth bottles expose more surface area of the liquid to the headspace air and the lid, leading to faster heat loss via convection and radiation compared to narrow-neck bottles.
“Thermos” is actually a brand name that became a generic term (proprietary eponym). A thermal flask is the generic name for any vacuum-insulated bottle. They refer to the same technology.
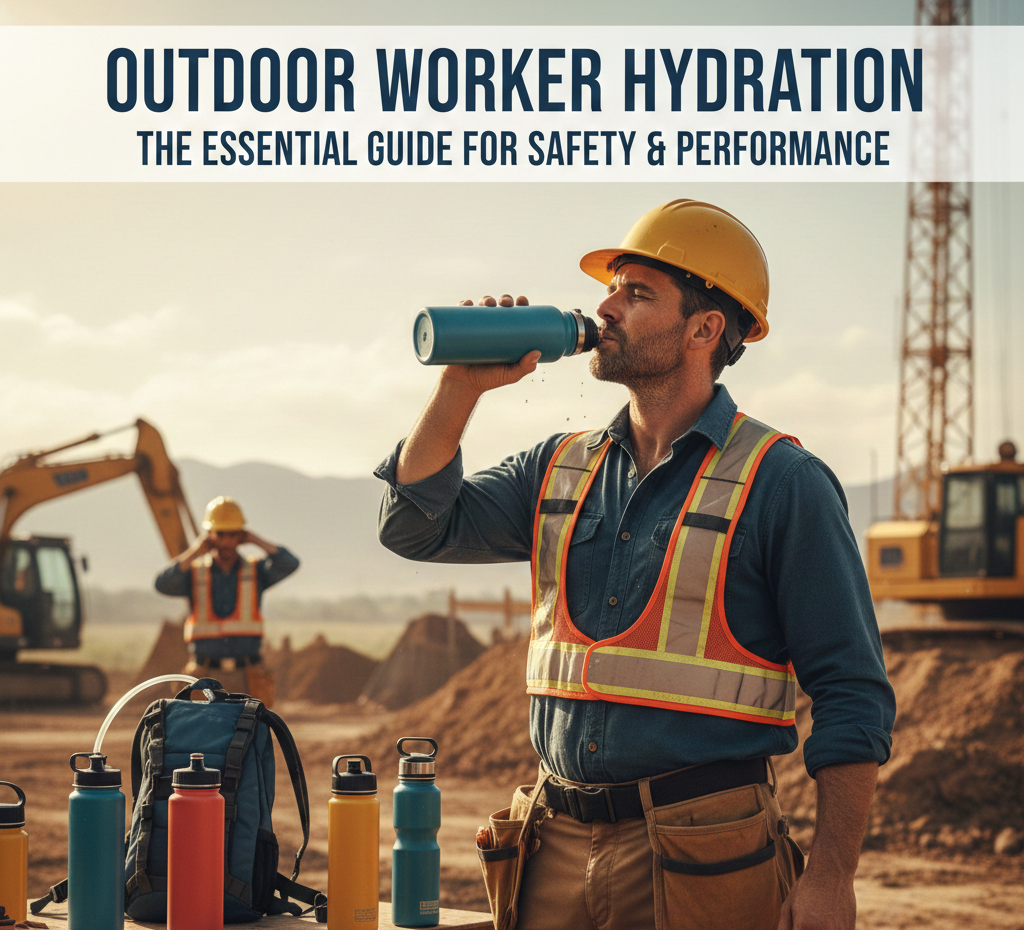
Outdoor Worker Hydration: The Essential Guide for Safety & Performance
Dehydration on the job site is not just uncomfortable – it is a critical safety hazard. This guide provides the actionable strategies and gear recommendations to keep your crew safe, compliant, and productive all shift long.
1. Hydration is Non-Negotiable: A Safety Issue
For outdoor workers, water is personal protective equipment (PPE). Dehydration impairs cognitive function, reaction time, and physical strength, directly leading to increased accident risk, costly errors, and heat-related illnesses. Employers have a legal and ethical duty to provide access to potable water and encourage its consumption. Treating hydration as a core safety protocol, not a break-time perk, is fundamental.
The Bottom Line: A dehydrated worker is a safety liability. Maintaining hydration is as critical as wearing a hard hat. For insights into gear that stands up to tough conditions, see our review of the most durable thermos for job site drops.
2. Calculate Your Work Needs: Beyond the 8×8 Rule
The standard “eight glasses a day” is irrelevant for manual labor. A more accurate baseline: Drink 1 cup (8 oz) of water every 15-20 minutes during continuous work in moderate conditions. In extreme heat/humidity, needs can soar to 1 gallon (128 oz) or more per person, per shift. Weigh yourself before and after a shift; each pound lost requires 16-24 oz of fluid replacement. Plan for this volume.
Sweat Rate Calculation: The Precision Method
The most accurate way to determine individual fluid replacement needs is to calculate personal sweat rate. Weigh yourself before and after the shift and track how much you drank. The formula: Sweat rate (oz/hr) = [(Pre-weight – Post-weight) x 16 oz + oz consumed] / hours worked. Example: a worker who loses 2 lbs over 4 hours while drinking 32 oz needs 16 oz per hour just to break even. Repeat across seasons and task intensities to build a personal hydration profile.
| Conditions | Min. Fluid/Hour | Electrolytes? | Frequency |
|---|---|---|---|
| Mild (below 75F, light work) | 8-12 oz | Not typically | Every 20 min |
| Moderate (75-85F, steady work) | 12-16 oz | After 2+ hours | Every 15-20 min |
| Hot (85-95F, hard labor) | 16-24 oz | Yes – mix with water | Every 15 min |
| Extreme (>95F, heavy exertion) | 24-32 oz | Yes – mandatory | Every 10-15 min |
3. Pre-Shift Hydration: Starting the Day Already Behind
Research shows that more than 50% of outdoor and agricultural workers begin their workday already in a dehydrated state. This is one of the most significant and correctable risk factors in outdoor worker safety – yet it is almost never addressed in workplace hydration programs that focus entirely on drinking during the shift.
Starting work dehydrated means the worker’s performance and safety margins are compromised from the first task. A worker who begins a shift already 1-2% dehydrated will hit dangerous dehydration thresholds faster, in lower temperatures, and with less physical exertion than a fully hydrated colleague doing identical work.
Pre-Shift Protocol
- Evening before: Aim for pale yellow urine before bed. Avoid alcohol the night before high-heat shifts.
- 30-60 minutes before work: Drink 16-20 oz (two full cups) of water – NIOSH’s recommended pre-shift intake for hot environments.
- Immediately before starting: Check urine color. If darker than pale straw yellow, drink another 8-16 oz before beginning work.
- With breakfast: Include fluid-rich foods – fruit, yogurt, oatmeal – that contribute to total fluid intake.
4. The Urine Color Self-Check: The Simplest Hydration Tool
Urine color is the most accessible, cost-free, and actionable hydration indicator available to every outdoor worker. Teaching your crew to use the urine color chart as a daily self-check is one of the highest-impact, lowest-cost hydration interventions a supervisor can implement. Print it and post it in portable toilets on-site – where workers can act on the information immediately.
Over-hydrated – add electrolytes
Well hydrated – keep going
Good – drink soon
Mildly dehydrated – drink 16 oz now
Dehydrated – stop, rest, hydrate
SEVERELY dehydrated – seek care
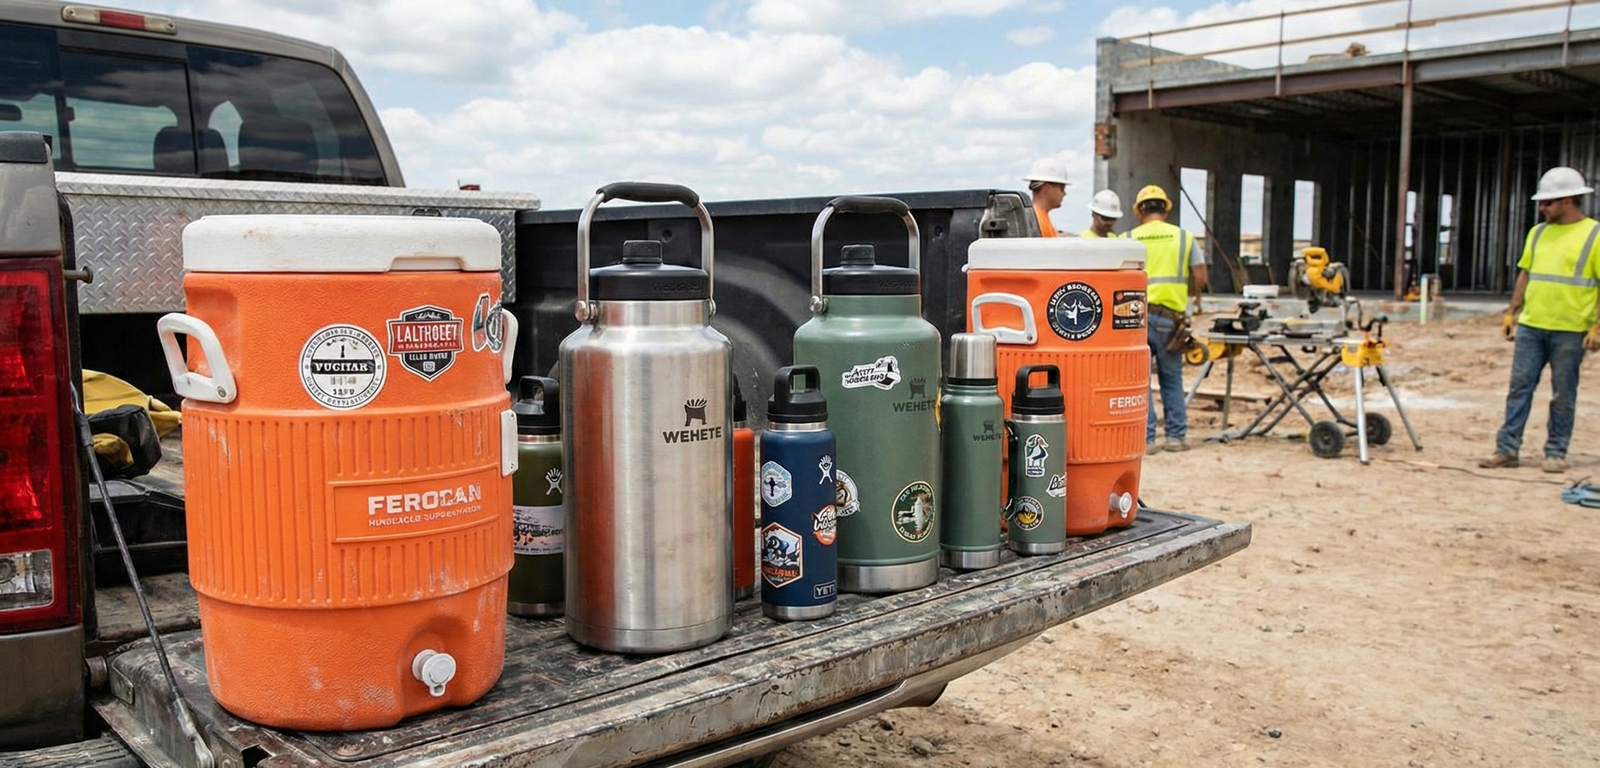
5. High-Capacity Containers: Volume & Durability
Individual workers need personal containers that hold at least half a gallon (64 oz) to minimize refill trips. For crew use, large 2-5 gallon insulated coolers with a spigot are essential. Key features: Wide mouth for easy cleaning and adding ice, durable stainless steel that will not leach chemicals or retain tastes, and leak-proof seals. A high-performance thermos food jar for construction sites can also keep meals hot or cold, supporting overall nutrition and hydration.
6. Temperature Control Tactics: Encouraging Intake
Workers drink 50% more when water is cool (50-60 degrees F) versus warm. In summer, use vacuum-insulated containers to keep water cold all day. In winter, provide access to warm fluids (broth, tea) to maintain core temperature and hydration. Understanding how vacuum insulation works for 24-hour temperature retention is key to selecting effective gear.
Shop Large Insulated Bottles7. Electrolyte Replenishment: Preventing Imbalance
Sweating loses critical salts (sodium, potassium). Drinking only plain water during long, sweaty shifts can lead to hyponatremia (water intoxication), which is dangerous. Provide electrolyte-replenishing options: drink mixes, tablets, or encourage salty snacks during breaks. For shifts over 4 hours with heavy sweating, electrolytes should supplement at least 25% of fluid intake.
What to Look for in Electrolyte Products
- Sodium: 200-500mg per serving – the primary electrolyte lost in sweat
- Potassium: 100-200mg per serving – supports muscle function
- Low sugar: Avoid products over 15-20g of sugar per serving – high sugar causes GI distress in heat and energy crashes
- Budget option: A salt packet and splash of juice in water provides effective electrolytes at minimal cost
Budget Electrolyte Option: OSHA accepts salty snacks (crackers, pretzels) as a legitimate complement to plain water during breaks. Low-sugar electrolyte tablets or powders are generally better than traditional sports drinks for sustained work hydration.
8. Hygiene & Maintenance: Preventing Contamination
Dirty containers breed bacteria. Enforce a clean culture: personal bottles washed daily, communal coolers drained and sanitized weekly. Use only potable water sources and mark containers to avoid cross-contamination with chemicals. A detail most programs miss: spigots and bite valves accumulate biofilm that plain rinsing does not remove. Remove and scrub spigot assemblies weekly; use a thin brush on straw channels daily.
9. OSHA & Safety Guidelines: The Legal Framework
OSHA mandates that employers provide potable drinking water in amounts meeting employee health needs. Water must be readily accessible, and individual cups must be provided. Employers with high heat risks must have a written Heat Illness Prevention Plan covering hydration, shade, and acclimatization.
OSHA Hydration Key Points
Access: Water must be located as close as feasible to the work area.
Quantity: At least one pint of water per hour per employee in high heat.
Quality: Cool, potable, provided in a sanitary manner.
Encouragement: Employers must encourage employees to drink frequently.
NIOSH Recommendations: Stricter Than OSHA
NIOSH recommends one cup (8 oz) every 15-20 minutes – more frequent than OSHA’s general pint-per-hour guidance – and a structured 14-day acclimatization protocol for new workers. Employers who follow NIOSH guidelines rather than OSHA minimums provide materially better protection and reduce liability exposure.
OSHA Shade Requirements
When temperatures exceed 80 degrees F, employers must provide shade sufficient for all workers on recovery periods. The shade must be at or close to the work area and sufficient to actually reduce body heat – not token coverage. OSHA’s “Water. Rest. Shade.” mandate requires all three elements, not optional ones.
10. Acclimatization: The 14-Day Protocol for New Workers
Acclimatization is the physiological process by which the body adapts to heat stress over 10-14 days. An unacclimatized worker is at dramatically higher risk of heat illness. The body develops increased plasma volume, earlier sweating, and reduced heart rate at equivalent workloads – but this takes time. Most preventable heat fatalities occur in workers’ first few days on a hot job.
| Day(s) | Max Time in Heat | Special Precautions |
|---|---|---|
| Day 1 | 20% of normal shift | Buddy system; supervisor check-ins every 30 min |
| Days 2-3 | 40% of normal shift | Frequent water breaks; avoid peak heat hours |
| Days 4-5 | 60% of normal shift | Full hydration protocol; heat illness symptom training |
| Days 6-7 | 80% of normal shift | Normal water access; buddy system continues |
| Days 8-14 | Full shift | Standard hydration protocol; daily symptom monitoring |
11. Heat Index & WBGT: Making Real-Time Safety Decisions
Air temperature alone is a poor indicator of heat stress. Humidity, wind, and solar radiation dramatically change the physiological heat load. The Heat Index (“feels like” temperature combining air temperature and humidity) is the most accessible tool for supervisors. NIOSH’s free Heat Safety Tool app calculates WBGT (Wet Bulb Globe Temperature – the most accurate heat stress measure) from your GPS location and displays color-coded risk levels with work/rest recommendations.
| Heat Index | Risk Level | Hydration Action | Work/Rest Ratio |
|---|---|---|---|
| Below 91F | Lower Risk | 8 oz every 20 min | Normal schedule |
| 91-103F | Moderate Risk | 8-12 oz every 15-20 min; electrolytes after 2 hrs | 45 min work / 15 min rest |
| 103-115F | High Risk | 12-16 oz every 15 min; electrolytes mandatory | 30 min work / 30 min rest |
| Above 115F | Extreme Risk | 16 oz+ every 10-15 min; electrolytes with every drink | Limit or halt outdoor exposure |
12. Heat Illness Warning Signs: Recognize & Respond
Every crew member must be trained to recognize heat illness stages.
Heat Cramps: Painful muscle spasms. Treat with rest, hydration, and electrolytes.
Heat Exhaustion: Heavy sweating, weakness, cold/pale skin, fast weak pulse, nausea. Move to cool place, loosen clothing, sip water, apply cool wet cloths.
Heat Stroke: A MEDICAL EMERGENCY. Hot/dry OR sweaty skin, confusion, loss of consciousness, high body temperature over 104F. CALL 911 IMMEDIATELY, move to shade, cool with whatever means available.
13. Cold Weather Strategies: The Hidden Dehydration Risk
Cold, dry air increases respiratory fluid loss. Heavy layers cause sweating, and thirst response is diminished. Workers need insulated containers to prevent freezing and access to warm beverages. Encourage regular sip breaks. The principles in our guide on thermos pre-treatment and preheating can maximize performance in freezing conditions.
Why Cold-Weather Workers Chronically Under-Hydrate
Three factors suppress hydration in cold conditions: cold diuresis (kidneys excrete more urine in cold), peripheral vasoconstriction confusing the body’s fluid balance sensors into thinking fluid is adequate, and the absence of the visual heat and sweat cues that remind summer workers to drink. In cold conditions target 6-8 oz of warm fluid every 20-30 minutes. Avoid alcohol on cold worksites – it accelerates hypothermia risk by dilating blood vessels while creating a false sensation of warmth.
14. Industry-Specific Hydration Plans
Different outdoor trades have different heat stress profiles. Here are tailored considerations for the four highest-risk outdoor worker categories.
Construction Workers
Highest Fall Risk When Dehydrated- High radiant heat from concrete, asphalt, and metal
- Hydration station at base of scaffolding – never require climbing to access water
- Personal 64+ oz bottle mandatory at elevated work locations
- Concrete curing generates chemical heat adding to ambient load
- Most OSHA heat fatalities: ironworkers, roofers, laborers
Landscaping & Grounds
Mobile Crew Challenge- Crew trucks must carry a 5-gallon insulated jug as standard equipment
- Routes should plan for potable water access between sites
- Chemical work: ensure hydration gear is never near pesticides
- Mobile crews: coolant beverage coolers in truck beds maintain cold water all day
- Heat index monitoring apps update crew leads for each stop
Roofing
Highest Heat Exposure of Any Trade- Dark roofing materials can exceed 170F surface temperature in direct sun
- Radiant heat from below (deck) AND direct solar from above – double heat load
- No natural shade at elevated surfaces – portable canopies essential
- Hydration every 10-15 min in summer – increase from standard protocols
- Start early (6-7am) and cease work by early afternoon in extreme heat
Agricultural Workers
Longest Shifts, Fewest Protections- Highest rate of heat-related fatalities of any outdoor occupation
- Field work: nearest water may be 1/4 mile away – transport required
- Language barrier: training must be multilingual
- Piece-rate pay creates pressure to skip breaks – employers must actively intervene
- OSHA Agricultural standard 1928.110 has specific water access requirements
15. Medications and Individual Risk Factors
Several categories of common medications significantly increase heat illness risk by interfering with temperature regulation. Supervisors should educate workers that certain conditions require self-reporting before working in high heat.
High-Risk Medication Categories
- Diuretics (“water pills”): Prescribed for hypertension – directly accelerate dehydration at baseline
- Antihistamines: Many OTC allergy medications reduce sweating and impair heat dissipation
- Beta-blockers: Common blood pressure medications – reduce heart rate response needed for cooling
- Antidepressants and antipsychotics: Many impair sweating and temperature perception
- Stimulants including prescribed ADHD medications: Raise baseline metabolic rate and core temperature
Other Individual Risk Factors
- Obesity: Increased heat generation with less surface area for dissipation
- Recent illness: Workers who have had fever, vomiting, or diarrhea begin work already dehydrated
- Pregnancy: Elevated core temperature plus fetal risk – pregnant workers should not work outdoors during extreme heat events
- Age over 65: Reduced thirst sensation and reduced sweating capacity – both increase risk
16. Caffeine and Alcohol: What Workers Need to Know
Caffeine: Not as Bad as You Have Heard
Moderate caffeine (2-3 cups of coffee) does not cause net dehydration in habitual users. The fluid in a caffeinated beverage still contributes to total hydration. However, high-caffeine energy drinks and pre-workouts raise core temperature, increase heart rate, and mask normal fatigue signals. Discourage energy drinks on hot days, particularly for workers with cardiovascular risk factors.
Alcohol: A Clear Prohibition
Alcohol is one of the most potent diuretics available. Workers who drink significantly the night before a hot shift begin work already dehydrated – the dehydrating effect persists through the following morning. Clear communication: “Drinking heavily the night before a hot shift is a safety risk to yourself and your co-workers.”
17. Post-Shift Hydration and Recovery
Post-shift recovery hydration is the final and most neglected phase of fluid management. The body’s replacement needs continue for hours after work, and workers who do not rehydrate properly begin their next shift already compromised.
Post-Shift Protocol
- Immediately after shift: For every pound lost, drink 16-24 oz over the following two hours – do not drink it all at once
- Within 2 hours: Eat a meal or snack with natural sodium to help the body retain fluid
- Evening: Continue drinking until urine is pale yellow
- Before bed: Pale yellow urine = ready for tomorrow. Darker = drink more before sleep
18. Crew Management & Culture: Lead by Example
Hydration must be championed from the top. Supervisors should model drinking water regularly and enforce mandatory water breaks (10 minutes every hour in extreme heat). Use buddy systems to monitor for signs of fatigue or dehydration. Make water stations visible and easily accessible. The most common failure: passive permission rather than active encouragement. Research is clear – mandatory scheduled breaks produce dramatically higher compliance than optional access alone.
19. Toolbox Talk Template: Hydration Safety
A toolbox talk is a 5-10 minute safety briefing before work begins. Regular hydration toolbox talks at the start of summer and during heat waves are one of the highest-impact interventions a safety manager has available.
Toolbox Talk: Hydration & Heat Safety (7-10 min)
Opening (1 min): “Today will be a hot one. Heat illness is the most preventable serious injury on this site. I want everyone to go home safe.”
The numbers (1 min): “Over half of outdoor workers start their shift already dehydrated. In this heat you can lose a liter of sweat per hour. At 2% body weight loss – under 4 pounds for most of us – your strength and judgment go down.”
The protocol (2 min): “Cold water and electrolyte tablets are at [location]. Drink 8 oz every 15 minutes. We take a mandatory 10-minute break at [times]. No questions about breaks – they are required.”
Buddy system (1 min): “Pair up. Watch your partner. If anyone looks confused, stops sweating, or says they feel sick – move them to shade and call me. Do not wait to see if they feel better.”
Close: “Water. Breaks. Watch each other. Let’s have a safe day.”
20. Gear Durability & Selection: Built for the Job
Worksite gear must survive drops, dust, and chemicals. Prioritize: Stainless Steel Construction (resists dents, won’t retain tastes), Double-Wall Vacuum Insulation (all-day temperature control), Leak-Proof Gasketed Lids (prevents spills in toolboxes), and Carrying Handles or Loops (easy transport). Consider a durable thermos lunch box system to integrate food and hydration in one rugged package.
21. On-Site Solutions & Setup: Practical Implementation
For Fixed Sites: Set up a dedicated hydration station with a large insulated water cooler, disposable cups, electrolyte packets, and a shaded rest area.
For Mobile Crews: Equip each vehicle with a 5-gallon insulated jug and a case of individual bottled water as backup.
For Individual Workers: Issue each employee a company-branded, high-quality 64 oz or 1-gallon insulated bottle as part of their PPE kit.
Monitor & Refill: Assign a daily duty to check and refill all water containers.
Final Word: Investing in a robust outdoor worker hydration program pays dividends in safety, reduced absenteeism, higher morale, and increased productivity. The cost of quality gear and a clear protocol is insignificant compared to the cost of a single heat-related incident. Keep your most valuable asset – your people – safe, hydrated, and on the job.
22. Hydration Station Budget: What It Actually Costs
A compliant, effective hydration station is one of the lowest-cost safety interventions available – far cheaper than a single workers comp claim for a heat-related illness averaging over $40,000 in direct costs.
| Item | Cost (Approx.) | Notes |
|---|---|---|
| 5-gallon insulated water cooler | $35-$80 | Igloo or Coleman; lasts 3-5+ years |
| Individual 64 oz insulated bottle (per worker) | $20-$45 | One-time cost; company-branded options available |
| Electrolyte packets (case of 100) | $18-$35 | ~$0.18-$0.35/serving |
| Portable canopy/shade tent | $50-$150 | Required for OSHA compliance when over 80F |
| Laminated urine color charts (10-pack) | $8-$15 | Post in portable toilets and break areas |
| NIOSH Heat Safety Tool app | Free | iOS and Android; real-time WBGT by GPS location |
| Total setup (10-person crew) | ~$450-$750 | ~$5-$8 per worker per month amortised |
An investment of $500 in crew hydration infrastructure can prevent a single heat illness incident costing $40,000+ in workers comp, medical bills, replacement labor, and lost productivity. The ROI argument is decisive.
Outdoor Worker Hydration: Your Questions Answered
What are OSHA’s requirements for providing water to outdoor workers?
OSHA requires employers to provide potable drinking water that is readily accessible to all employees. In high heat, they recommend providing at least one pint of water per hour per worker. The water must be cool, provided in a sanitary manner, and employees must be encouraged to drink it. OSHA also requires written heat illness prevention plans for high-risk operations, shade when temperatures exceed 80F, and structured acclimatization for new workers.
How much water should a construction worker drink per day?
In moderate conditions, 3/4 to 1 gallon per day is typical. In high heat with intense labor, needs can exceed 1.5 gallons. The key is consistent sipping throughout the shift, not drinking large amounts at breaks. Calculate personal sweat rate using before and after weigh-ins to determine precise individual needs.
Are electrolyte drinks better than water for outdoor workers?
They are complementary, not a replacement. Water is primary. Electrolyte drinks are crucial for shifts longer than 4 hours or in extreme sweat conditions to replace lost salts and prevent hyponatremia. Avoid drinks with high sugar content – low-sugar electrolyte tablets or powders mixed with water are better than traditional sports drinks for sustained outdoor work.
What is the best type of water container for a construction site?
A large-capacity (1/2 to 1 gallon), stainless steel, vacuum-insulated bottle with a wide mouth and a leak-proof, locking lid. Stainless steel is durable, non-toxic, and easy to clean. Insulation keeps water cold and palatable all day. For crew use, a 5-gallon insulated cooler with a spigot at the work location is the minimum adequate crew station.
What are the first signs of heat exhaustion?
Heavy sweating, weakness, cool/pale/clammy skin, fast but weak pulse, nausea or vomiting, dizziness, headache, and muscle cramps. Move the worker to a cool area immediately, loosen clothing, sip cool water with electrolytes, and apply cool wet cloths. Do not return to work until fully recovered.
Can you get dehydrated working in cold weather?
Absolutely. You lose significant fluid through respiration in dry cold air, and sweat evaporates quickly under heavy clothing. Cold diuresis (increased urination in the cold) further accelerates fluid loss. Thirst response is also significantly blunted. Target 6-8 oz of warm fluid every 20-30 minutes during cold weather work.
How often should water breaks be scheduled?
In high heat, schedule mandatory breaks in a cool/shaded area every hour – 5-10 minutes to drink at least 8 oz. At Heat Index above 103F, move to 30 min work / 30 min rest cycles per NIOSH guidelines. Workers should also sip continuously while working, not wait for breaks.
Is it the employer’s responsibility to provide water bottles?
OSHA requires employers to provide access to water and drinking vessels (cups, fountains). Providing individual, durable water bottles is not strictly required but is a best practice that ensures compliance, promotes hygiene, and shows care for employees. Many safety programs issue personal bottles as part of standard PPE kits.
What is the difference between heat stroke and heat exhaustion?
Heat exhaustion is severe depletion of water and salt – the body’s cooling system is overwhelmed but still working. The worker is pale, sweating, weak, and nauseous. Heat stroke is a complete failure of temperature control – a life-threatening emergency. The key sign: altered mental state (confusion, incoherence, unconsciousness). Call 911 immediately and begin cooling.
How can I encourage my crew to drink more water?
Lead by example. Provide high-quality insulated bottles. Keep water cold and at the work location – not 200 feet away. Make breaks mandatory, not optional. Use the urine color chart as a visible daily reminder. Consider flavoring options for variety. Use a buddy system – workers who monitor each other show significantly better hydration outcomes.
What is acclimatization and why does it matter?
Acclimatization is the 10-14 day physiological process by which the body adapts to heat stress. An unacclimatized worker is at dramatically higher risk. NIOSH and OSHA recommend a 14-day graduated schedule starting at 20% of normal shift in heat on Day 1 and building to full shift by Days 8-14. Workers returning from 2+ weeks away from hot work should follow the same schedule.
Do medications affect heat illness risk for outdoor workers?
Yes, significantly. Diuretics, antihistamines, beta-blockers, and many antidepressants and antipsychotics all interfere with heat management mechanisms, greatly increasing risk. Workers on these medications should self-report to their supervisor before hot-weather work and may need modified assignments or more frequent breaks. Creating a culture where self-reporting is safe and expected is essential.
What is the urine color test for hydration?
Pale straw yellow means well hydrated. Dark yellow means mildly dehydrated – drink 16 oz immediately. Amber or orange means significantly dehydrated – stop work, rest, rehydrate. Brown means severely dehydrated – seek medical attention. Clear urine indicates over-hydration – reduce plain water and add electrolytes. Post laminated color charts in portable toilets on-site so workers can check and act immediately.


